Art Ideas
June 2026
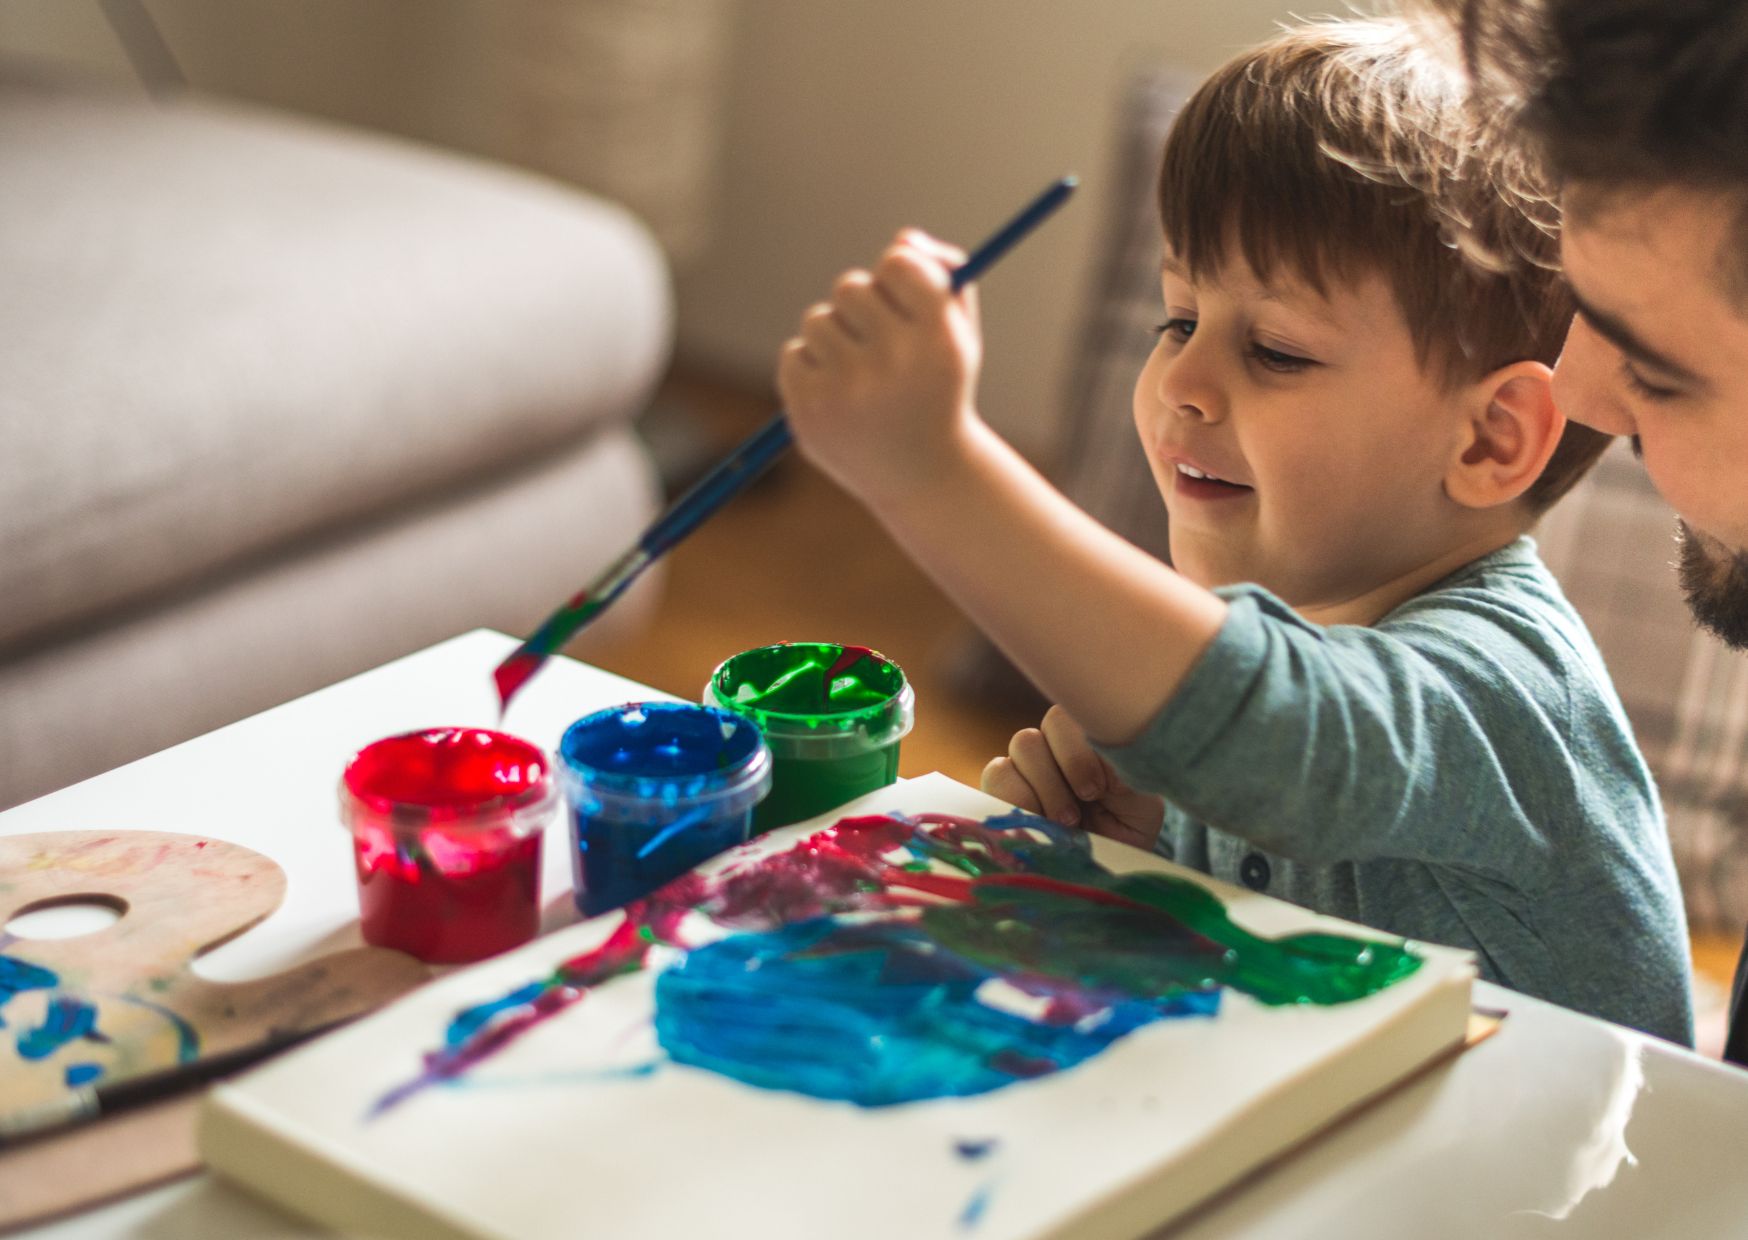
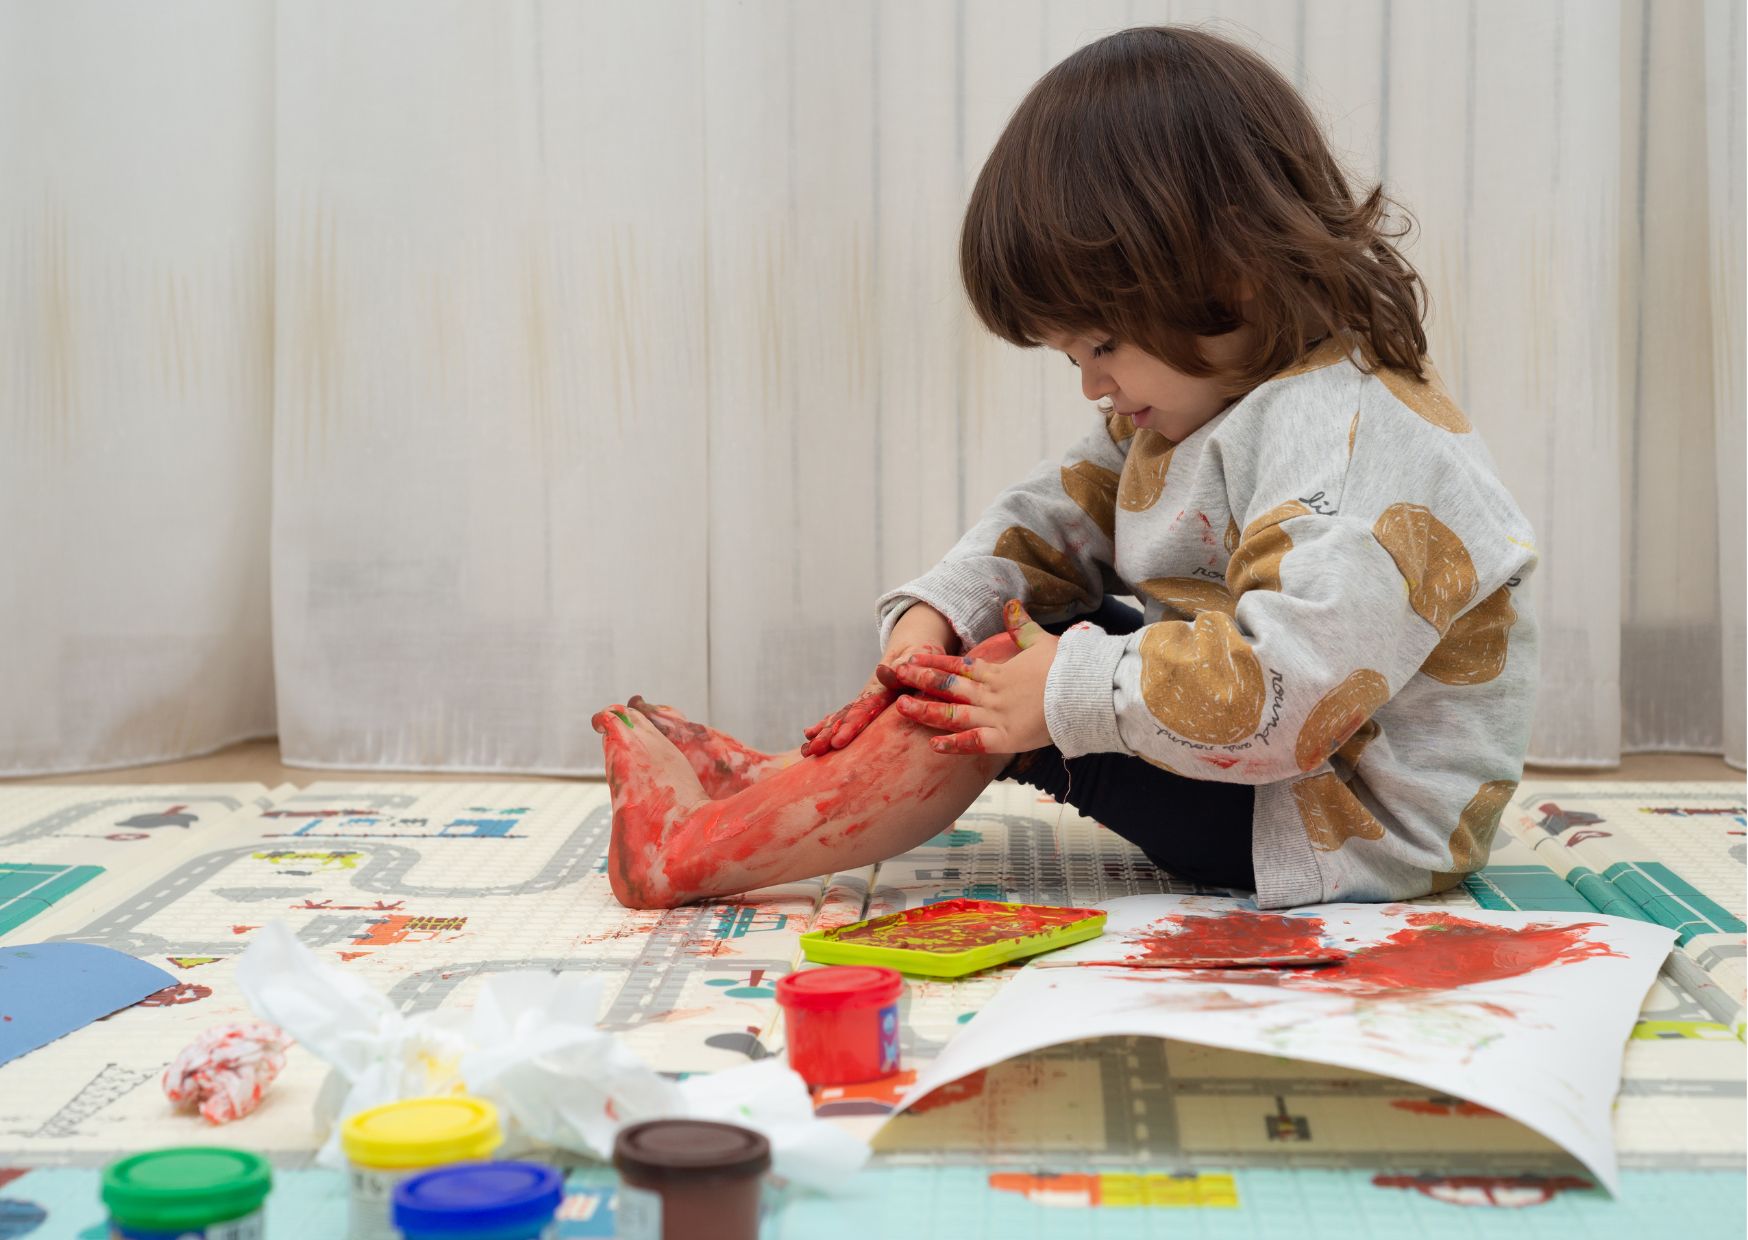
It's all about experimentation, investigation, curiosity and play.
It is open-ended, child-led and no two pieces look the same.
Through this type of art, tamariki can explore their creativity and imagination, develop their independence and critical thinking skills, build their confidence to have and share their own ideas, explore their capabilities and investigate how different materials work, question and problem solve.
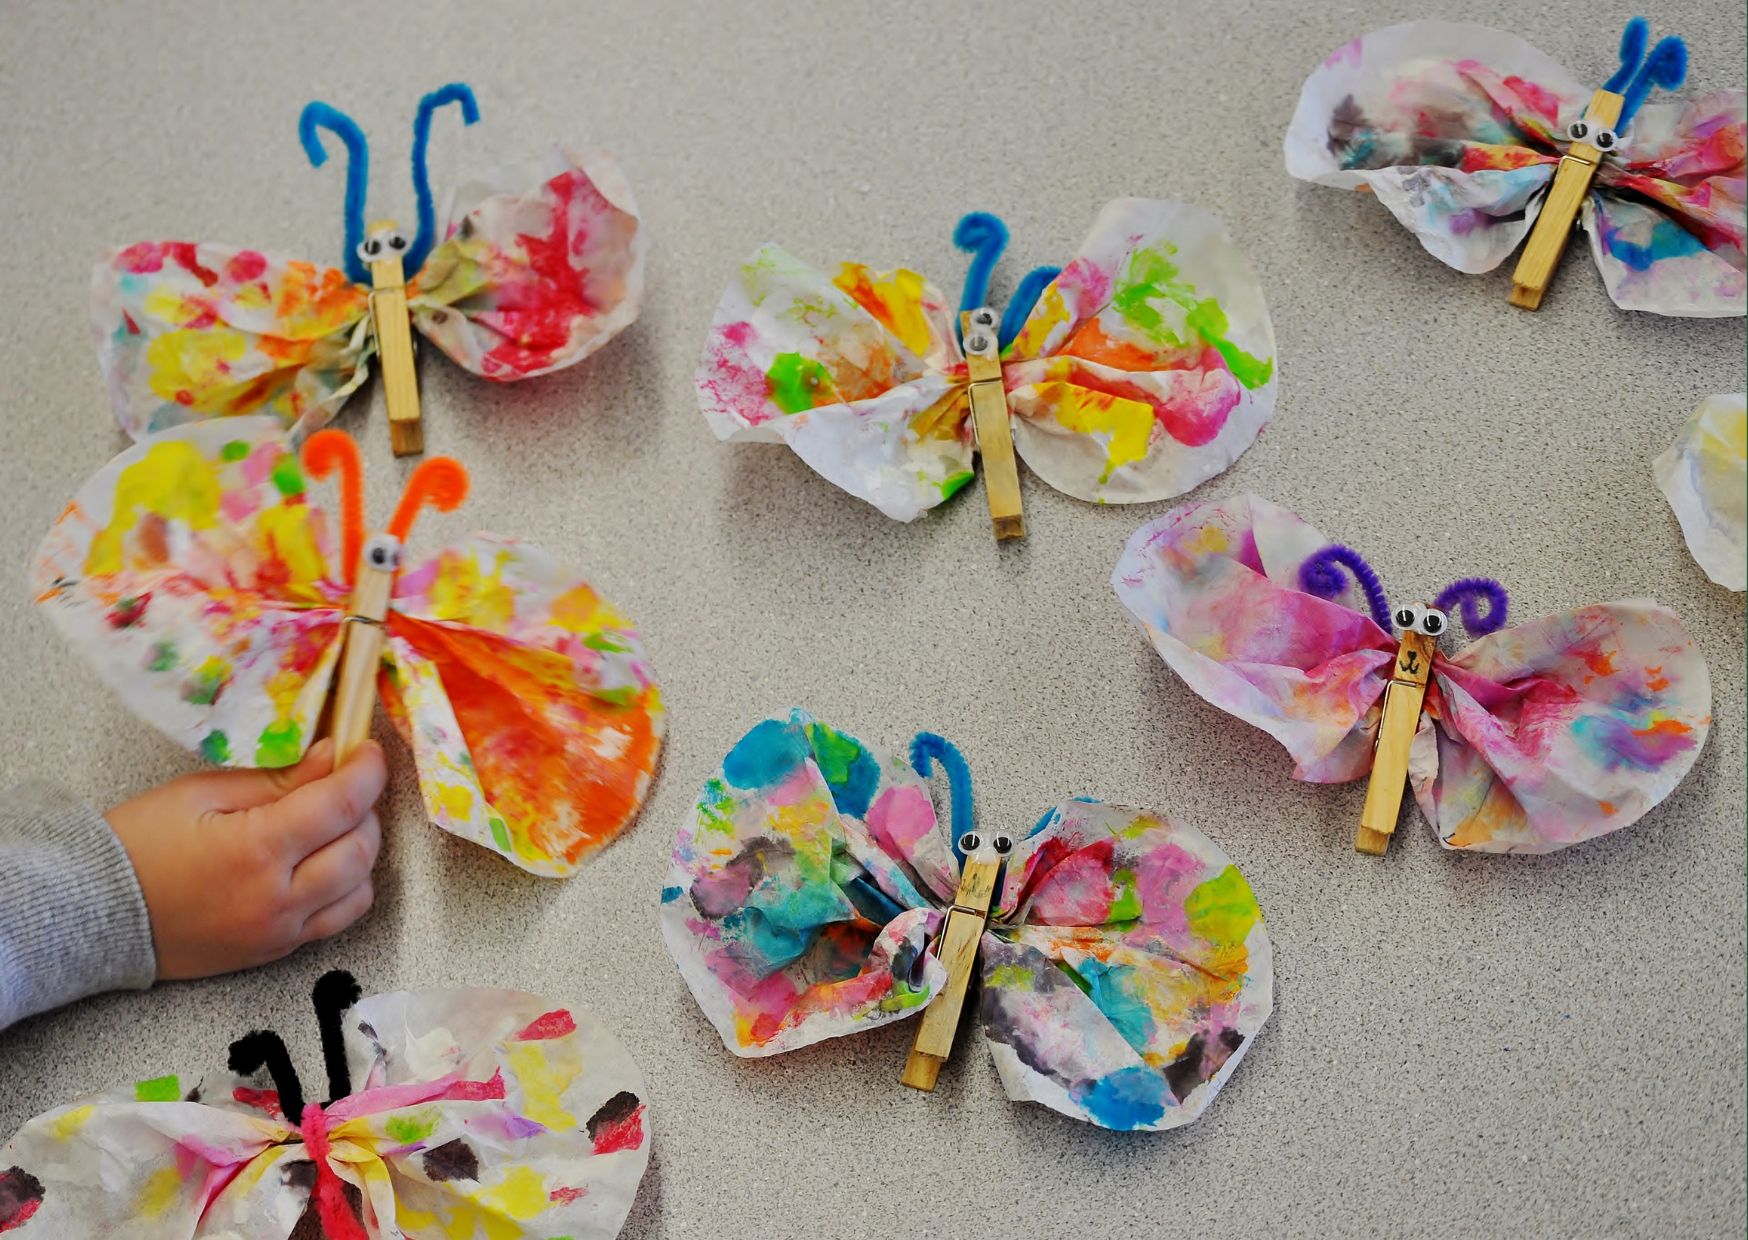
Tamariki follow set instructions to create a predetermined outcome. This style of art is useful for introducing new concepts, strengthening skills (such as following instructions and fine motor skills) and creating special keepsakes.
Here are some ideas to inspire you:
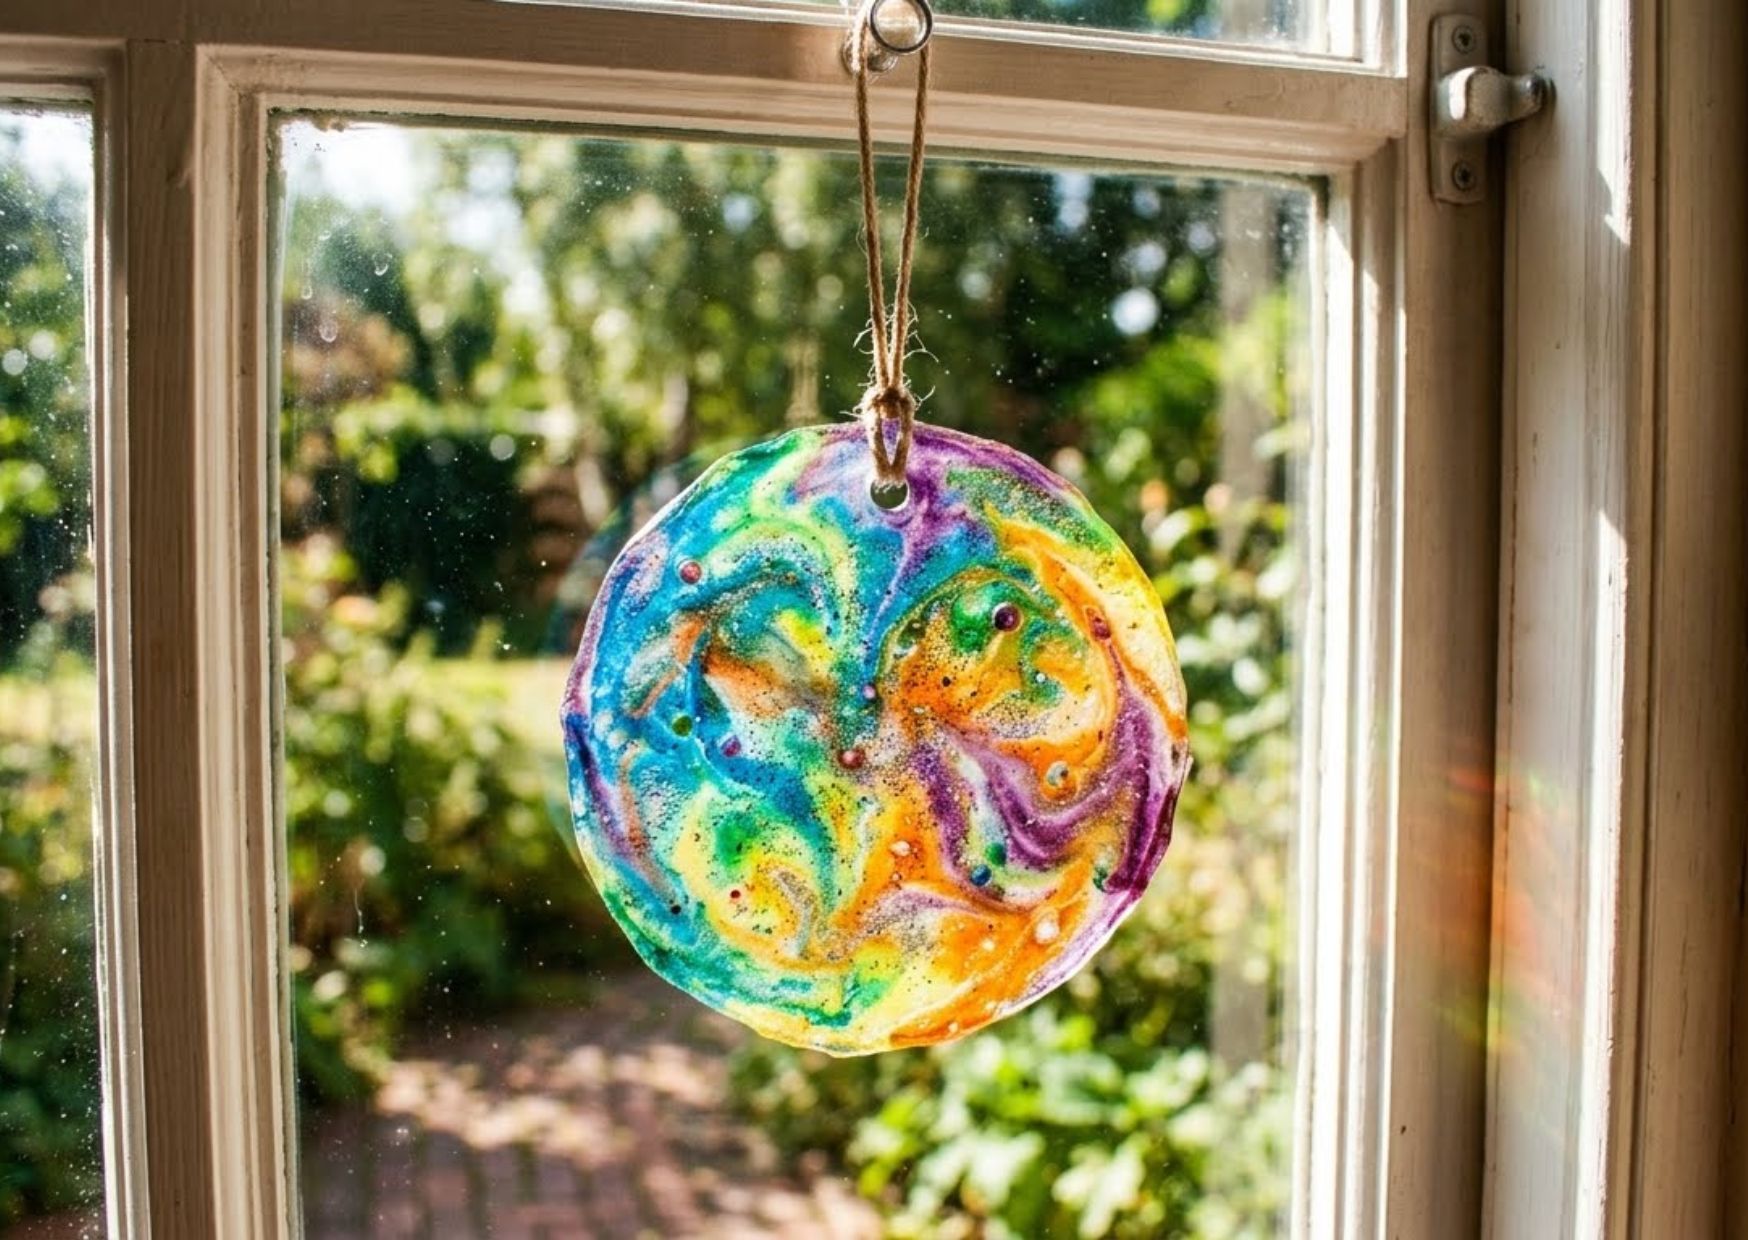
Materials
PVA Glue (lots of it!)
Food Colouring or Liquid Watercolours
Toothpicks
Plastic lids (Plastic lids work best, although metal lids also work)
Hole Punch
String
Instructions
Pour a generous amount of glue into one of your lids and swish it around to cover the entire inner surface.
Have tamariki put one or two drops of each colour around the glue.
Give tamariki a toothpick to swirl the colours around in the glue. Over mixing will result in a muddy effect.
Let it dry. As the colours settle, they will continue to expand. Depending on how much glue you used, the suncatcher will take one to three days to fully dry. You will know it’s ready when the edges start to peel off the lid.
When fully dry, peel the suncatcher off the lid, punch a hole through the top, add a string, and hang in a sunny spot.
Note: These suncatchers will morph over time. The longer they sit in a sunny window and dry the more they will change. The food colouring will eventually begin to shrink as the glue hardens.
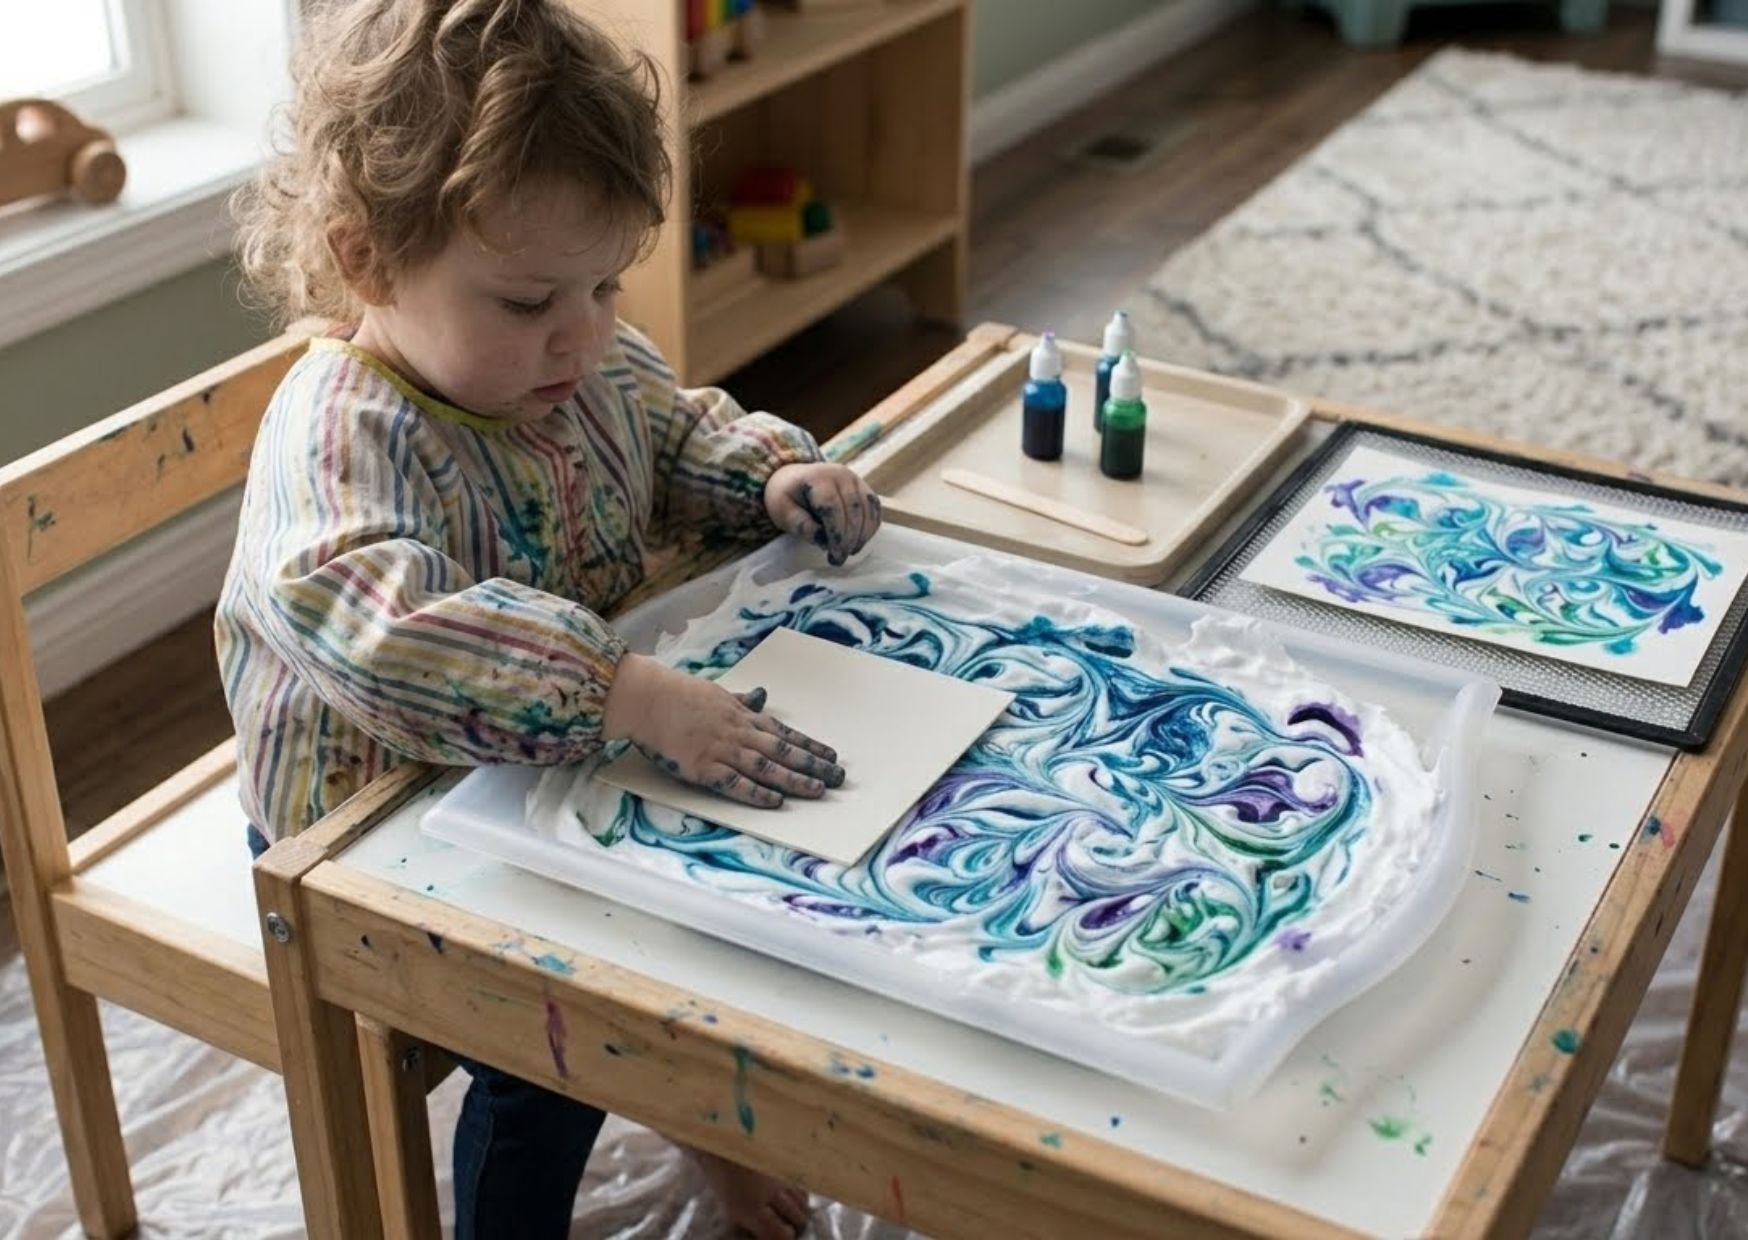
Materials
Baking pan or tray with sides
Shaving cream
Craft Sticks
Food colouring
Card
Cardboard (for scraping)
Instructions
Spray a layer of shaving cream on the bottom of a tray.
Add drops of food colouring on top.
Use a craft stick to gently swirl the food colouring into the shaving cream.
Press a blank piece of paper into the shaving cream. Remove to a flat surface.
With the edge of some thick cardboard, scrape the shaving cream off the paper. Let dry.
You can repeat this with more paper and keep adding in food colouring as needed.
Materials
Muffin Tins
Paint
Paintbrushes
Paper
Scissors
Jar lid (optional)
Instructions
Cut your paper into small squares slightly larger than the bottom of the individual muffin tin cups
Place the muffin tin upside down on a flat surface. Use a paintbrush to cover the bottom of each “cup” with paint. Make sure to give it a thick coating.
Take one of your pieces of paper and place it on the cup. Press down using your hand or a small flat object like a jar lid.
Remove the paper to reveal a print.
Tips
Do this on a large table covered in paper.
This is a quick project that creates a lot of prints. Make sure you have a space for all the prints to dry.
These can make great cards or be turned into a garland.
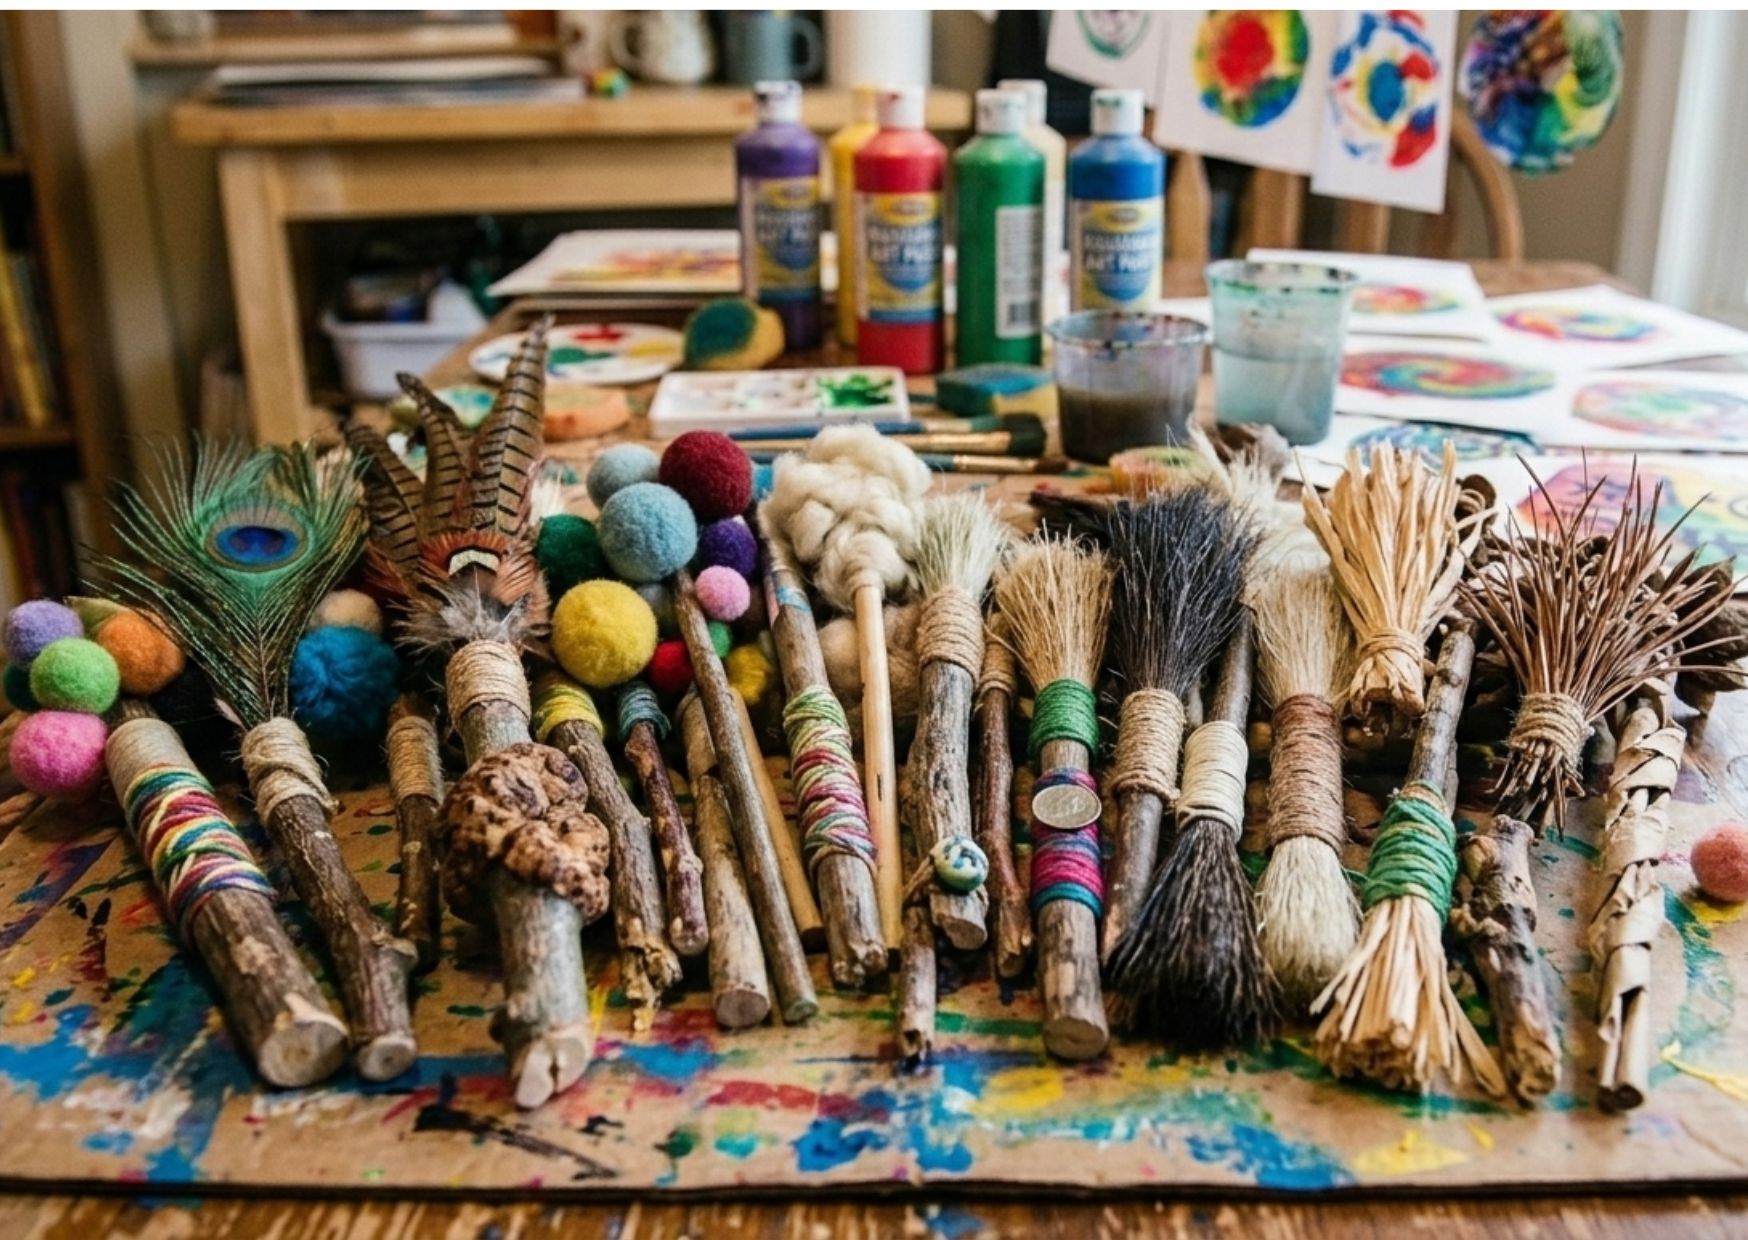
Materials
Clothes pegs
Paint & Paper
Fun Items for brushes!
Brush Ideas
Sponges
Twine
Burlap
Felt
Feathers
Pipe Cleaners
Pom Poms
Cosmetic wedges
Cotton Balls
Foam
Muffin Liners
Netting
Crepe Paper
Instructions
Use the pegs to grip onto the different materials and enjoy creating different patterns and textures.
Materials
Coloured Burlap/Hessian
Shoelaces
Embroidery Hoop
Scissors
Instructions
Cut a square piece of material roughly 5cms wider than your embroidery hoop
Open the embroidery hoop. Place the material over inner circle.
Place the outer circle over the inner hoop making sure the burlap is stretched tightly over the hoop. Tighten the screw.
Tie the laces you will be using onto the screw post of the embroidery hoop
Let tamariki create.
Tips
Role model alongside tamariki, show them how to start from underneath.
Go slow, reintroduce another time if they are not ready the first time.
Materials
Pompoms
Diluted paint
Long roll of paper or cardboard
Instructions
Dip pompoms into paint.
Drop the pompoms from different heights to explore what happens…down low, from a stool, from shoulder height, from hip height etc. Discuss with the tamariki what they are observing.
Materials
Squeegee
Watercolour paper or blank canvas
Paints in rainbow colours (in squeeze bottles makes it easier for tamariki to use)
Drop cloth/newspaper/cardboard
Instructions
Cover your surface with the drop cloth/newspaper/cardboard. Add your watercolour paper or blank canvas on top. Add drops of paint in lines, squiggles, dots.
Using the squeegee, scrape off the paint going in one direction. Wipe off excess paint. Repeat in different patterns across your paper or canvas.
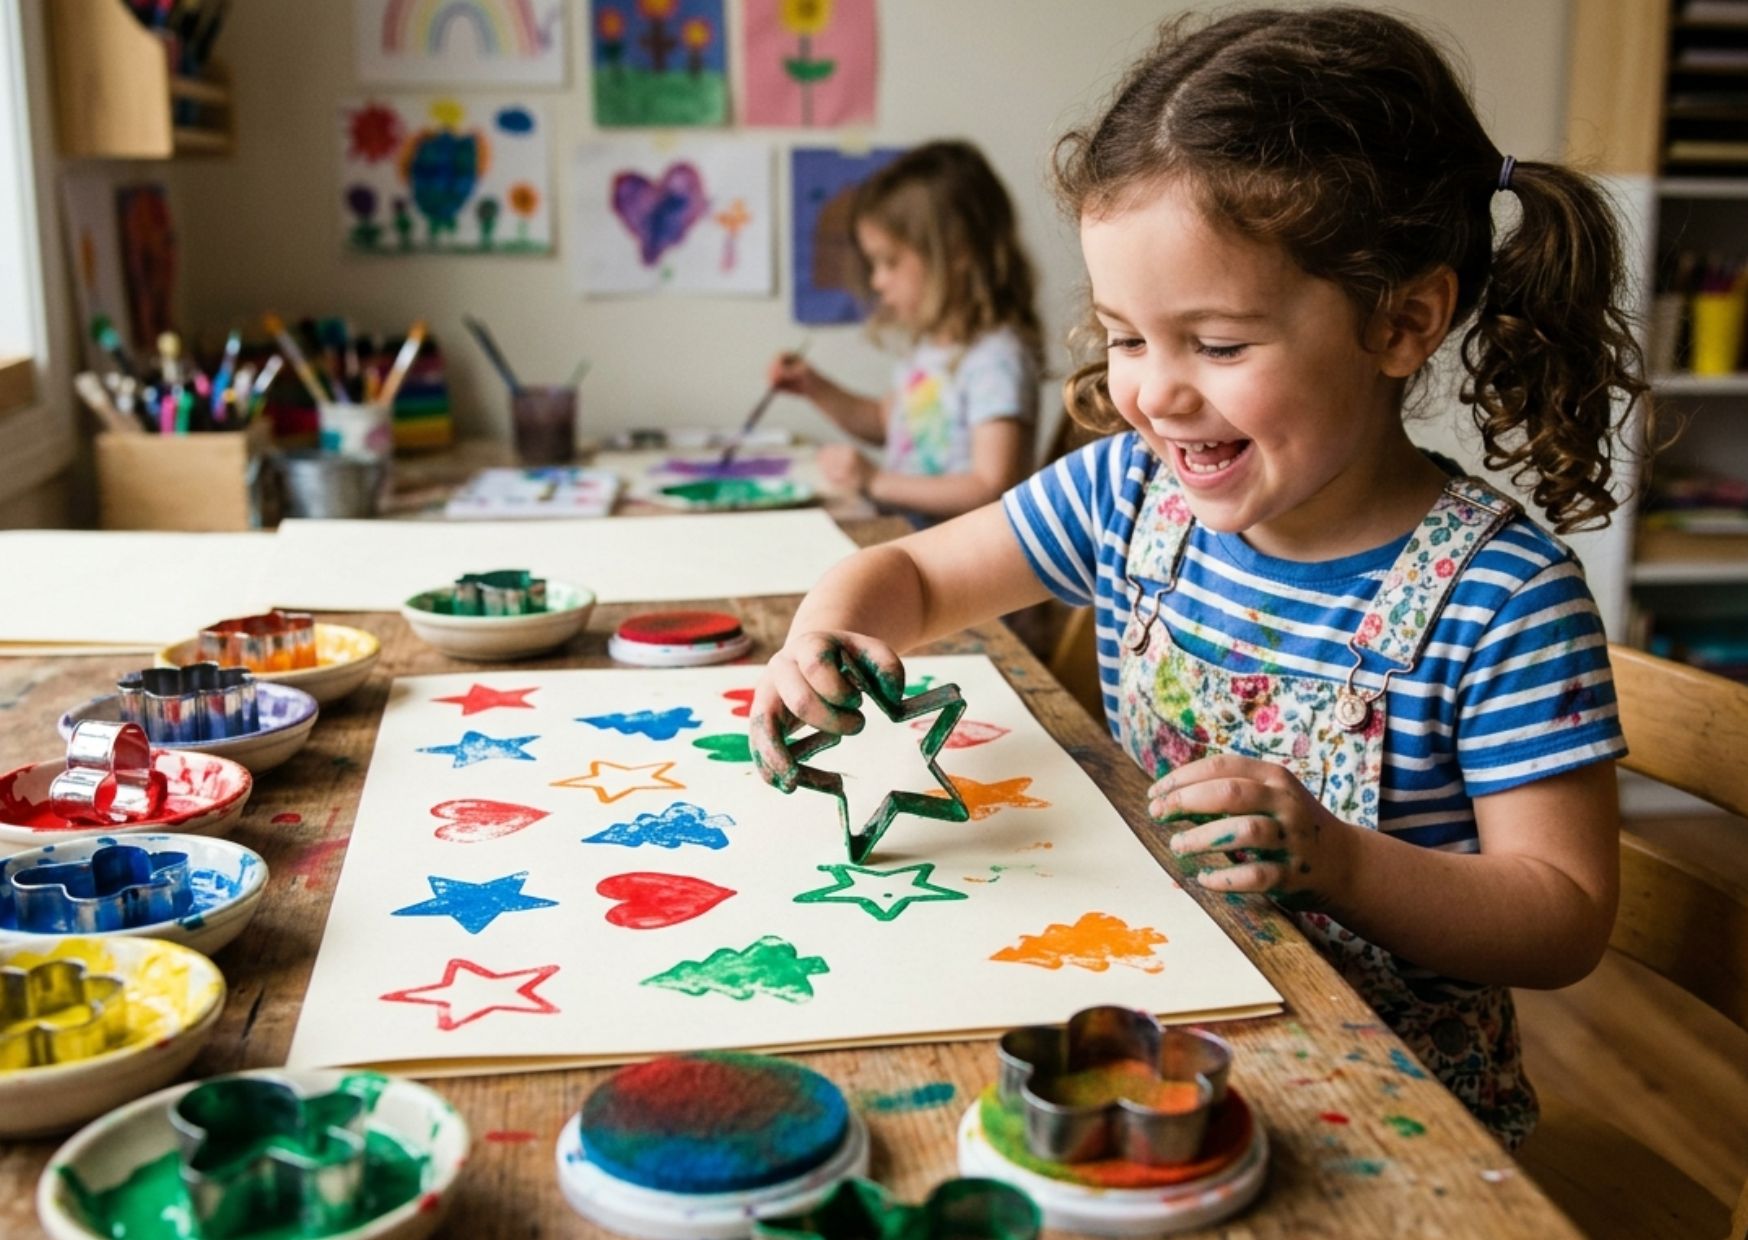
So many things can be used for stamping. Experiment and see what textures, patterns and designs tamariki create.
Examples
Toy animals
Toy vehicles
Bubble wrap
Plastic blocks
Cookie cutters
Play dough tools
Plastic bottles
Yoghurt containers
Paper towel rolls/paper cups
Flowers
Leaves
Giant buttons
Jar lids
Small blown-up balloons
Eyedropper Art
Materials
Eyedroppers/pipettes
Dye/food colouring of various colours
Paper towels
Tray
Instructions
Encourage tamariki to use the eyedroppers to gather the dye and drop onto the paper towels. Ask open ended questions and explore what happens.
Materials
Tray
Rubber-bands
Paper
Paint
An old sheet or newspapers underneath (or do this outside) as it will get messy
Instructions
Wrap rubber-bands around the tray to make horizontal lines down the tray. Place a piece of paper underneath the bands. Invite tamariki to place little blobs of paint onto the paper over/under the rubberbands. Encourage tamariki to pull and release the rubber-bands and experiment with different tension to make the paint splat.
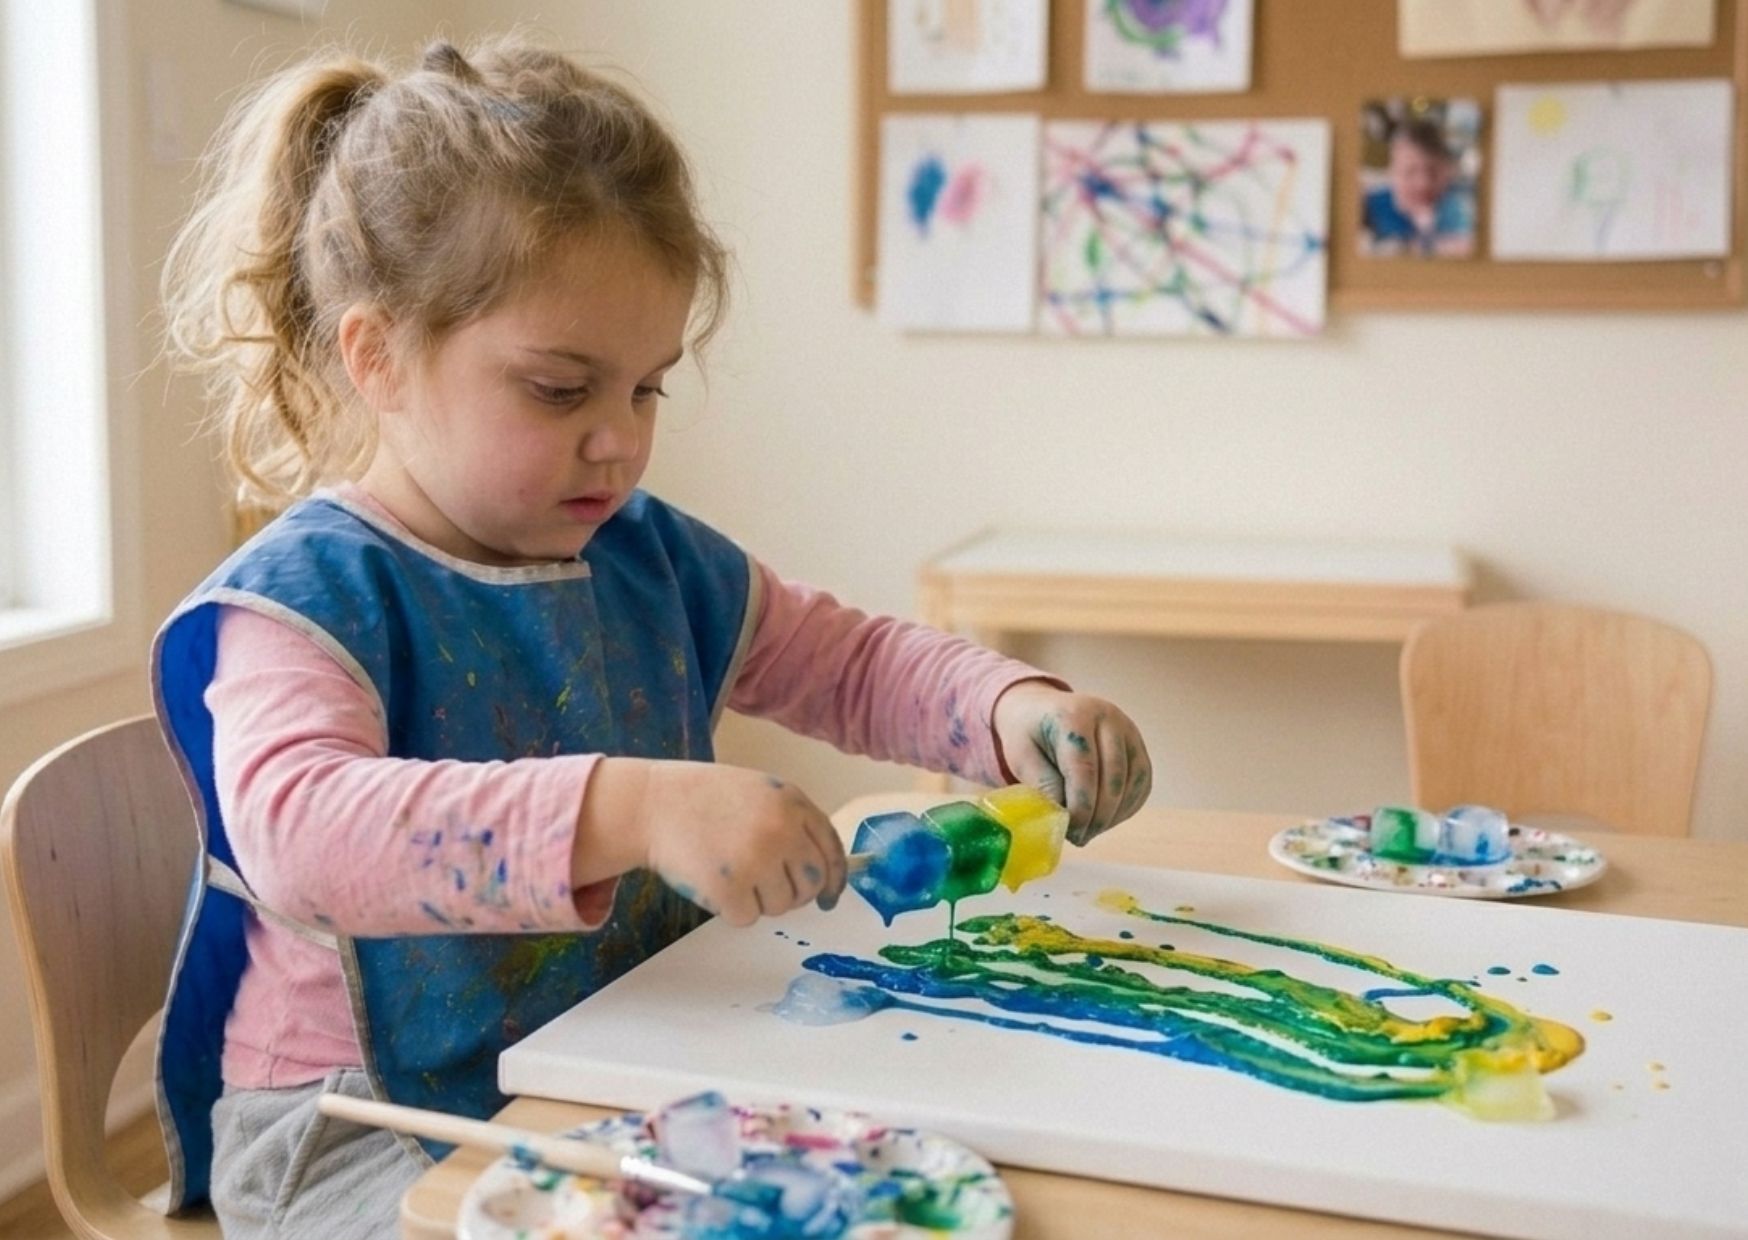
Materials
Paint
Dishwashing liquid
Water
Ice trays or small containers
Popsicle sticks
Instructions
Mix equal parts paint and water into each tray/container and mix in a dash of dishwashing liquid. Place a popsicle stick into each colour and freeze until set (you may wish to cut the sticks in half if you’re using an ice tray).
Fly swat painting
Collage
Spray bottles with diluted food colouring and drop sheets
Washi tape, scissors and paper
Nature rubbings with crayons
A weaving wall using chicken wire/garden mesh (or similar) with ribbons, sticks, strips of fabric, yarn, flax etc for children to weave, knot and tie
Clay and loose parts
Invite experimentation without pressure
Offer vocabulary and naming techniques children are using e.g. “you’re tapping the brush rather than dragging it, it creates a different effect.”
Demonstrate a technique on your own piece of paper, beside the child, rather than on their work of art
Encourage reflection e.g. “what did you like most about creating this?”